I have always felt that the end of the year is the perfect moment to start something new. Blogging has been on my mind for a while now, so I’m finally making the leap.
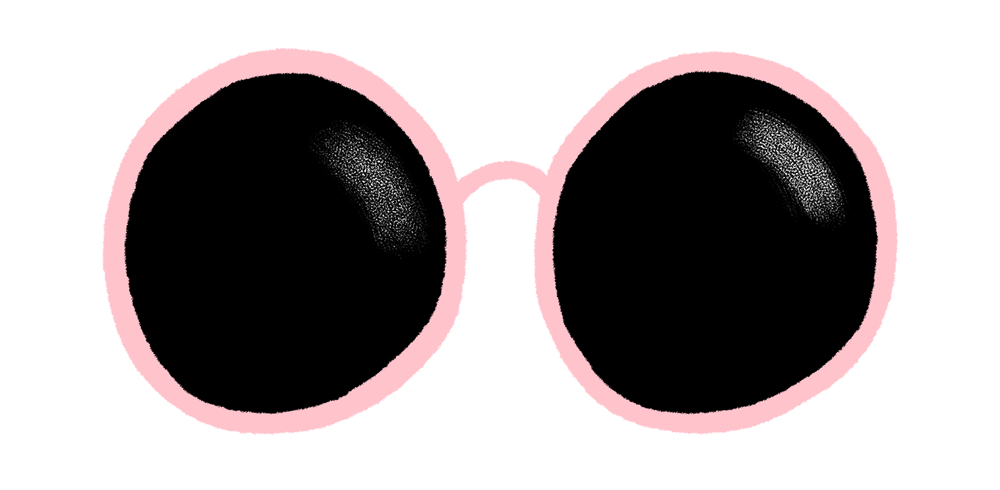
I’m starting with a little Photoshop frame-by-frame animation tutorial for these illustrated heart-shaped glasses. I hope this blog becomes a permanent fixture on my website as a vehicle for professional growth as well as place to showcase some of the behind-the-scenes moments of making.

The Steps:
1. Start by roughly drawing the frames (from circle to heart with in-betweens). I used 12 frames for this one, but some of the frames have been reversed and reused. I drew a total of 6 frames.
Note 1: You can add more in-betweens to slow down the movement and make it run more smoothly.
Note 2: I change the opacity of the previous frame to use it as a guide for the frame I'm currently drawing.

2. Order your sketches, so you can test out the animation. I used frame-by-frame animation for this one (in Photoshop, go to Window > Timeline to pull up the timeline).
I used sketch number 6 (the full heart) three times to slow down the pace of the movement. Sketches 2, 3, 4 and 5 are reversed and used twice to create a looping motion.
I set the timing to 0.1 seconds and the looping to 'forever'.

3. If you're happy with the movement, you can start colouring the elements. Adding the colour in will help you create a less bouncy animation.
4. Boil effect. You can add movement just by painting over the same shapes or elements, since your strokes will never be the same twice. I did that for the highlighted areas of the glasses in the corners as well as the temples. You can paint two or three different frames and play around with interchanging them to create the effect.
5. Export time! If you're happy with the results, you can export your work as a GIF or video.
Go to File > Export > Save for Web (Legacy) to export a GIF, or File > Export > Render Video to export a video.
Have fun playing around! :) Let me know if you have any questions.